2. SIP Extensions
2.1. Configure
From the dropdown menu select Applications > Extensions.
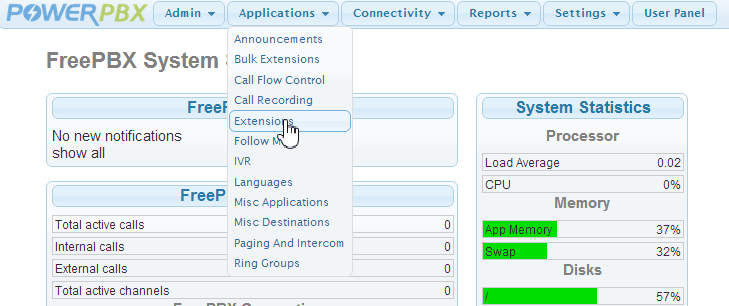
click to enlarge
Make sure Generic SIP Device is selected and click Submit.
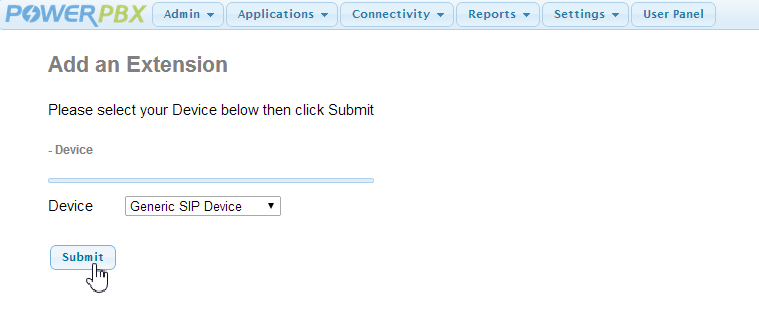
click to enlarge
Add extension and CID display name and click Submit button at the bottom them click Apply Config button at the top. . In this example we are adding an extension 1234 which will show up as x1234 when calling other extensions.
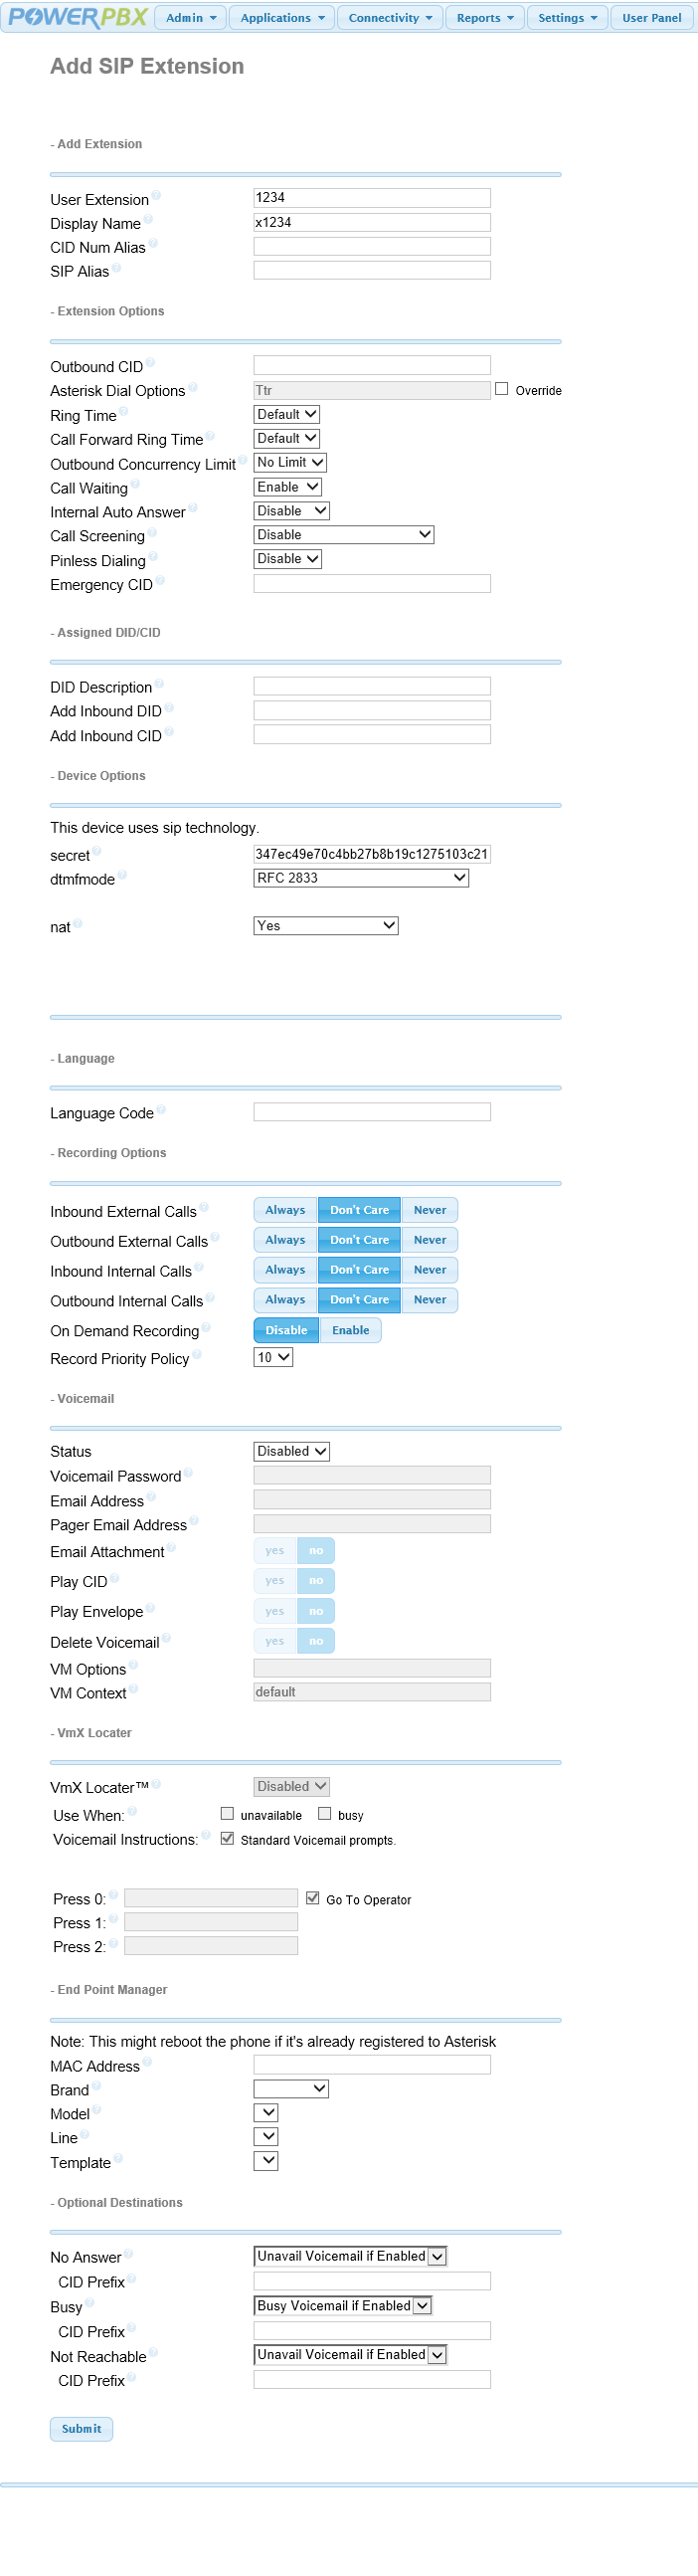
click on image twice to see full size screenshot
Attention
For maximimum compatibility ensure NAT = yes as shown in the above screenshot. This default should only be changed if you experience problems.
Hint
Hover your mouse over the little blue ?’s to see additional information

Note
To change SIP port go to Settings > Asterisk SIP Settings > Chan SIP. This port cannot be the same as the PJSIP port setting at Settings > Asterisk SIP Settings > Chan PJSIP. You will need to reboot the server or restart Asterisk for these changes to take effect.
2.1.1. Test
On a SIP phone:
- Enter the username (username = user extension #) and password you set up in the previous section.
- Point the SIP phone to the IP or domain name of your PowerPBX server.
- Dial
*43to run the echo test.
If the echo test instructions play back and you hear your own voice then you have successfully set up a SIP extension and verified that it is working properly.